n an era where automation is key, facial recognition technology offers a modern and efficient solution for tracking attendance. This blog post will guide you through the process of creating your own facial recognition attendance system using Python, the Flask web framework, and the powerful OpenCV library.
Project Overview
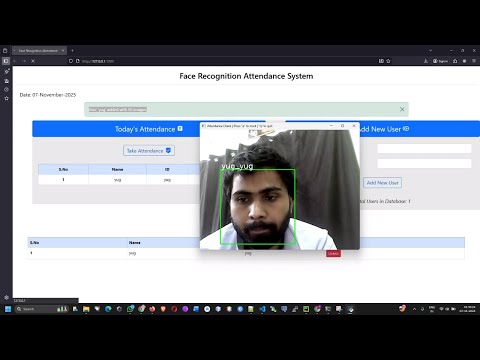
The goal of this project is to build a web application that can manage and record attendance through facial recognition. The system will allow an administrator to register new users by capturing their images and will then be able to identify these users to mark their attendance automatically.
Core Functionalities
New User Registration: An interface to input a new user's name and ID, followed by a process to capture multiple facial images using a webcam.
Face Detection: The system will use Haar Cascades or a more modern deep learning model to detect faces in a video stream.
Facial Embeddings: For each registered user, the face_recognition library will be used to generate a unique 128-dimensional facial embedding from their images.
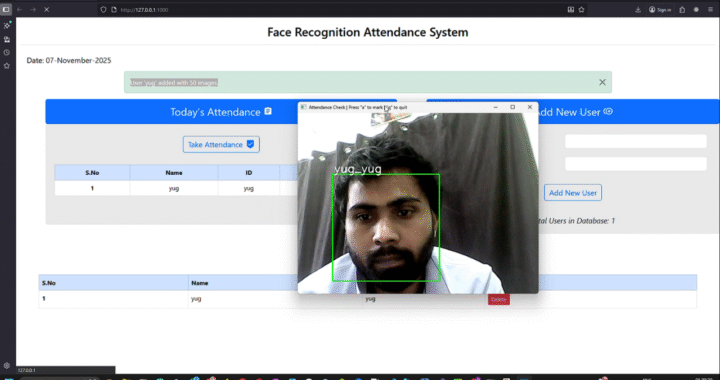
Real-time Recognition and Attendance: The application will compare the facial embeddings of people in the live video feed with the stored embeddings of registered users. Upon a successful match, the attendance will be logged with the current date and time.
Web-Based Dashboard: A simple and intuitive dashboard built with Flask to display the list of registered users and the daily attendance records.
Setting Up Your Development Environment
Before you start coding, you'll need to install the necessary Python libraries. You can do this using pip:
pip install Flask opencv-python face_recognition numpyThe Building Blocks of the System
Flask Application Structure: We'll start by setting up a basic Flask application with routes to handle the main page, adding new users, and taking attendance.
Capturing and Storing User Data: We will use OpenCV to access the webcam, capture frames, and save a predefined number of images for each new user in a dedicated directory.
Training the Recognition Model: While we are not training a deep learning model from scratch, we will process the captured images to create facial encodings for each user. These encodings act as our "database" of known faces.
Implementing the Recognition Logic: This is the core of our application. We will continuously capture frames from the webcam, detect faces in each frame, and compare the detected faces with our known face encodings.
Frontend Development: Using HTML, we will create a simple user interface that allows for easy interaction with the system, including adding new users and viewing the attendance list.
By following this guide, you will have a functional prototype of a facial recognition attendance system, providing a solid foundation that you can further enhance and customize.
Buy Now Source Code ₹1501