To create a centralized digital repository for academic resources, manage the entire homework lifecycle from creation to evaluation, and schedule and conduct live online classes.
7.1 Manage Syllabus
The syllabus feature allows you to outline the curriculum for each subject in a structured, hierarchical way. This helps teachers, students, and parents understand the topics to be covered.
Navigation: MANAGEMENT > Study Center > Manage Syllabus
- To get started, Select Class and Select Subject.
- Click the + Add New Topic button.
- A modal will appear to add a main topic or chapter:
- Title: Enter the name of the chapter or unit. Example: "Chapter 5: Chemical Reactions".
- Parent Topic: Leave this as "None" for a main chapter.
- Description (Optional): A brief overview of the chapter.
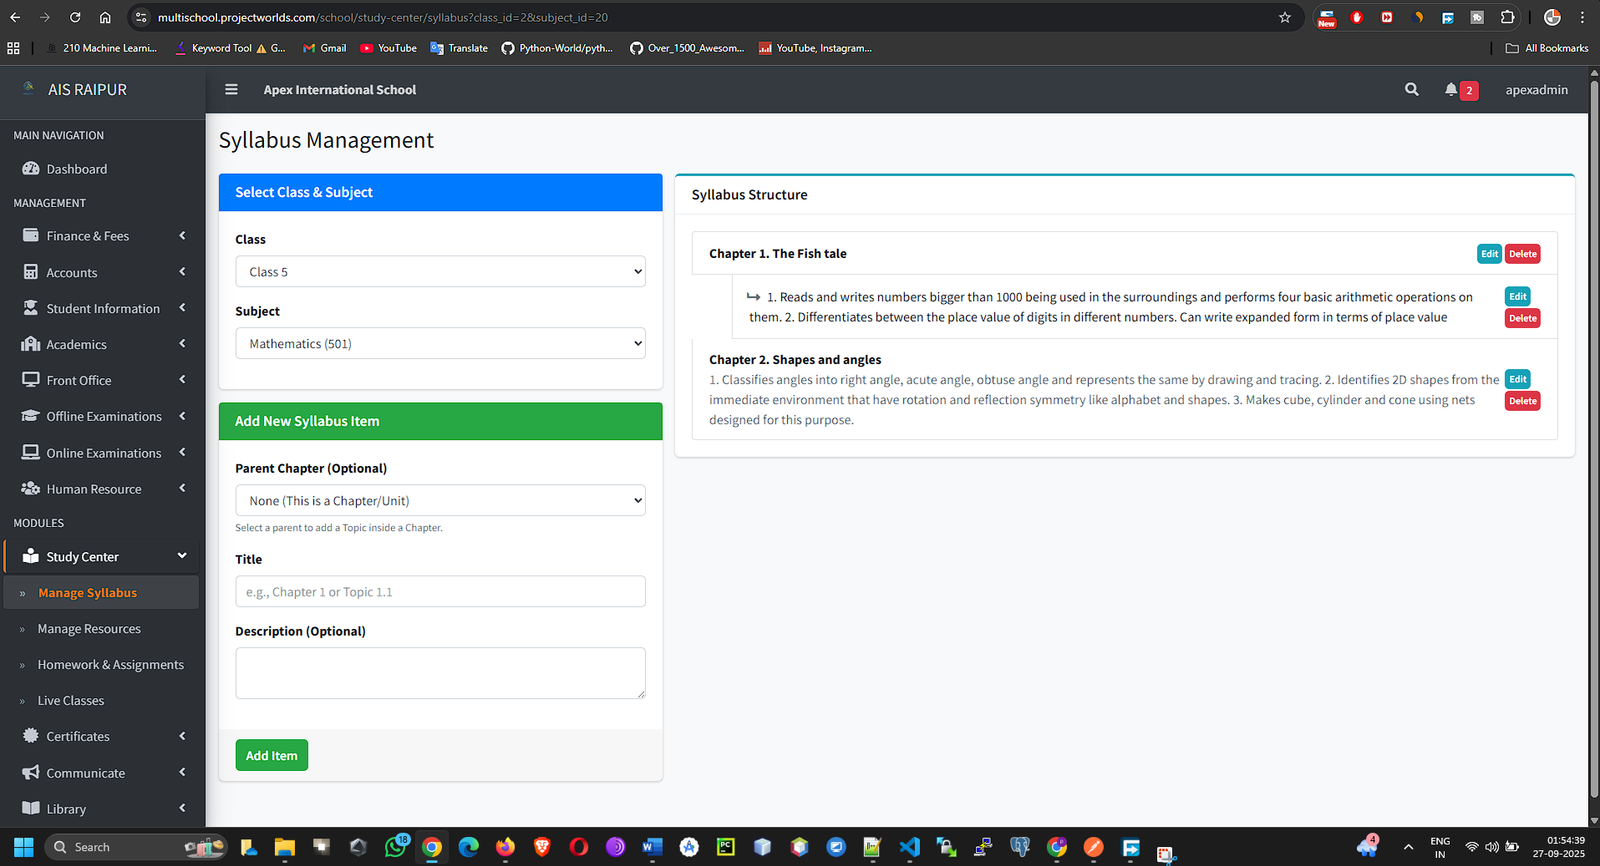
- Click Save. The main topic will appear in a tree-like structure.
- To add a sub-topic:
- Click + Add New Topic again.
- Title: Enter the sub-topic name. Example: "Types of Reactions".
- Parent Topic: From the dropdown, select the main chapter it belongs to (e.g., "Chapter 5: Chemical Reactions").
- Description: Details about the sub-topic.
- Click Save.
- Continue this process to build out the complete syllabus structure for the subject. You can easily reorder topics by dragging and dropping them.
7.2 Manage Resources (Study Materials)
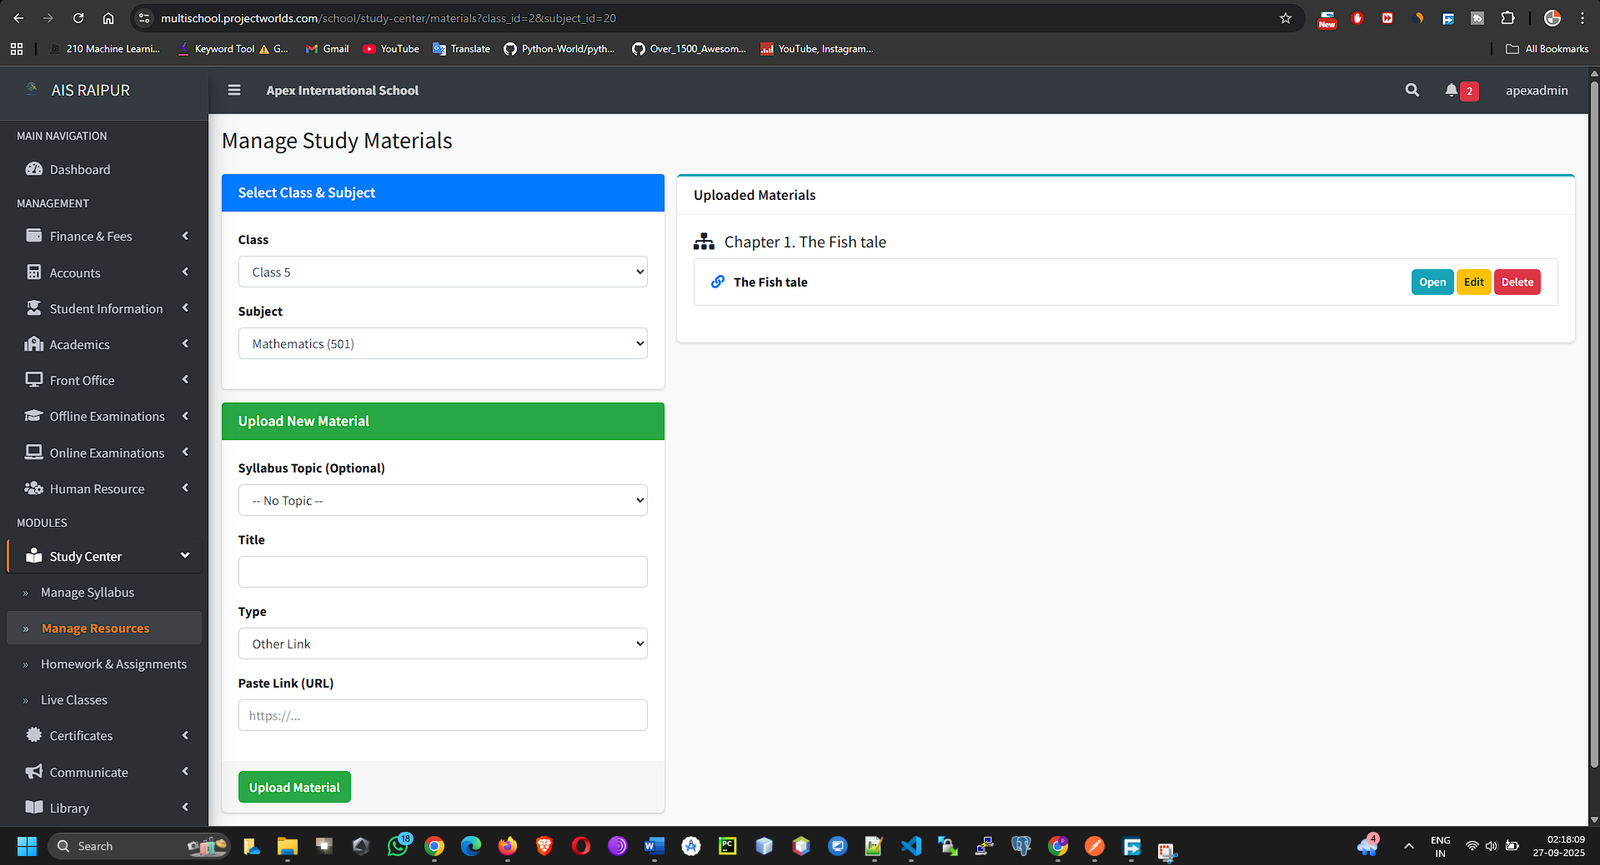
This is where teachers can upload and share various learning resources with students.
Navigation: MANAGEMENT > Study Center > Manage Resources
- Click the + Add New Resource button.
- Fill out the resource form:
- Title: A clear and descriptive title for the material. Example: "Notes on Photosynthesis", "Video Tutorial for Quadratic Equations".
- Subject: Select the relevant subject.
- Syllabus Topic (Optional): You can link this resource to a specific topic you created in the syllabus. This helps in organizing content.
- Resource Type: This is important. Choose the type of content you are uploading:
- File Upload: For PDFs, Word documents, presentations, etc.
- Video URL: For embedding a YouTube or Vimeo video.
- Content: For typing or pasting text directly.
- Content: Based on the type selected, a field will appear to either upload a file, paste a URL, or a text editor will be shown.
- Click Save. The resource is now available for students of the associated subject to view and download from their app/portal.
7.3 Homework & Assignments
This section allows teachers to create, assign, and evaluate homework digitally.
Navigation: MANAGEMENT > Study Center > Homework & Assignments
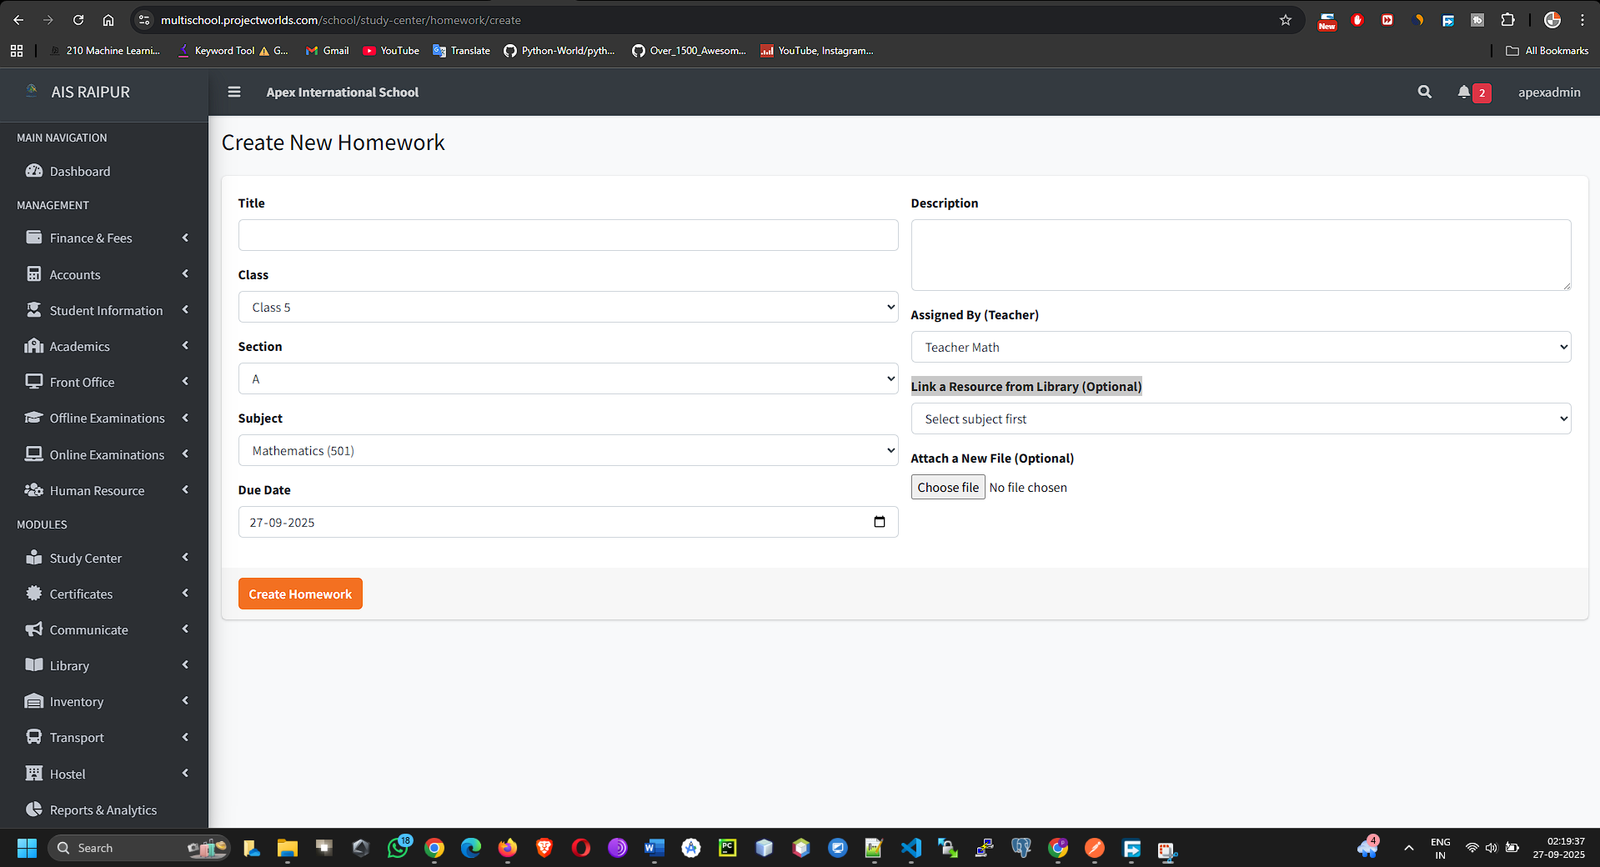
Creating a New Homework Assignment
- Click the + Add New Homework button.
- Complete the homework creation form:
- Title: The title of the assignment. Example: "History - Chapter 4 Questions", "Mathematics - Algebra Worksheet".
- Class & Section: Select the class and section this homework is for.
- Subject: Select the subject.
- Due Date: The final date for students to submit their work.
- Description: Provide detailed instructions for the homework.
- File Attachment (Optional): You can attach a worksheet, question paper, or reference document.
- Link to Study Material (Optional): You can link this homework to a specific resource you uploaded earlier, making it easy for students to find the relevant material.
- Click Save. The homework is now assigned and will be visible to all students in the selected section.
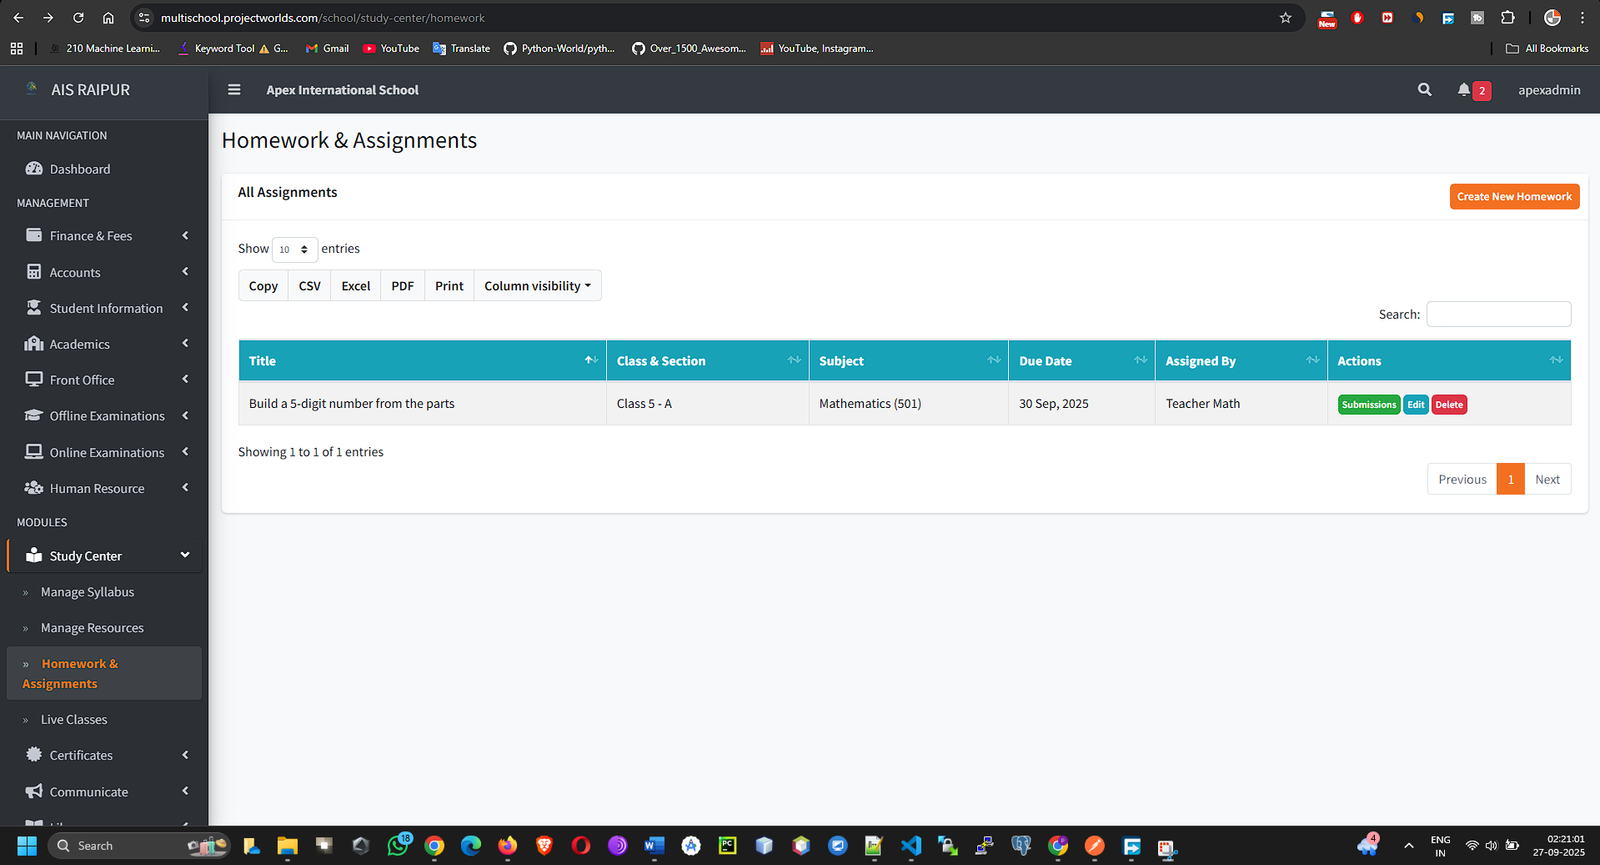
Evaluating Homework Submissions
- On the main homework list, find the assignment you want to evaluate. In the Action column, click the View Submissions icon.
[SCREENSHOT: StudyCenter_Homework_ListView_Actions.png]
- You will be taken to a page listing all students in the section. For each student, you can see their submission status (Submitted or Not Submitted).
- If a student has submitted a file, you can download and review it.
- After reviewing, click the Evaluate button for that student.
- An evaluation modal will appear:
- Marks: Enter the marks obtained.
- Remarks: Provide feedback for the student.
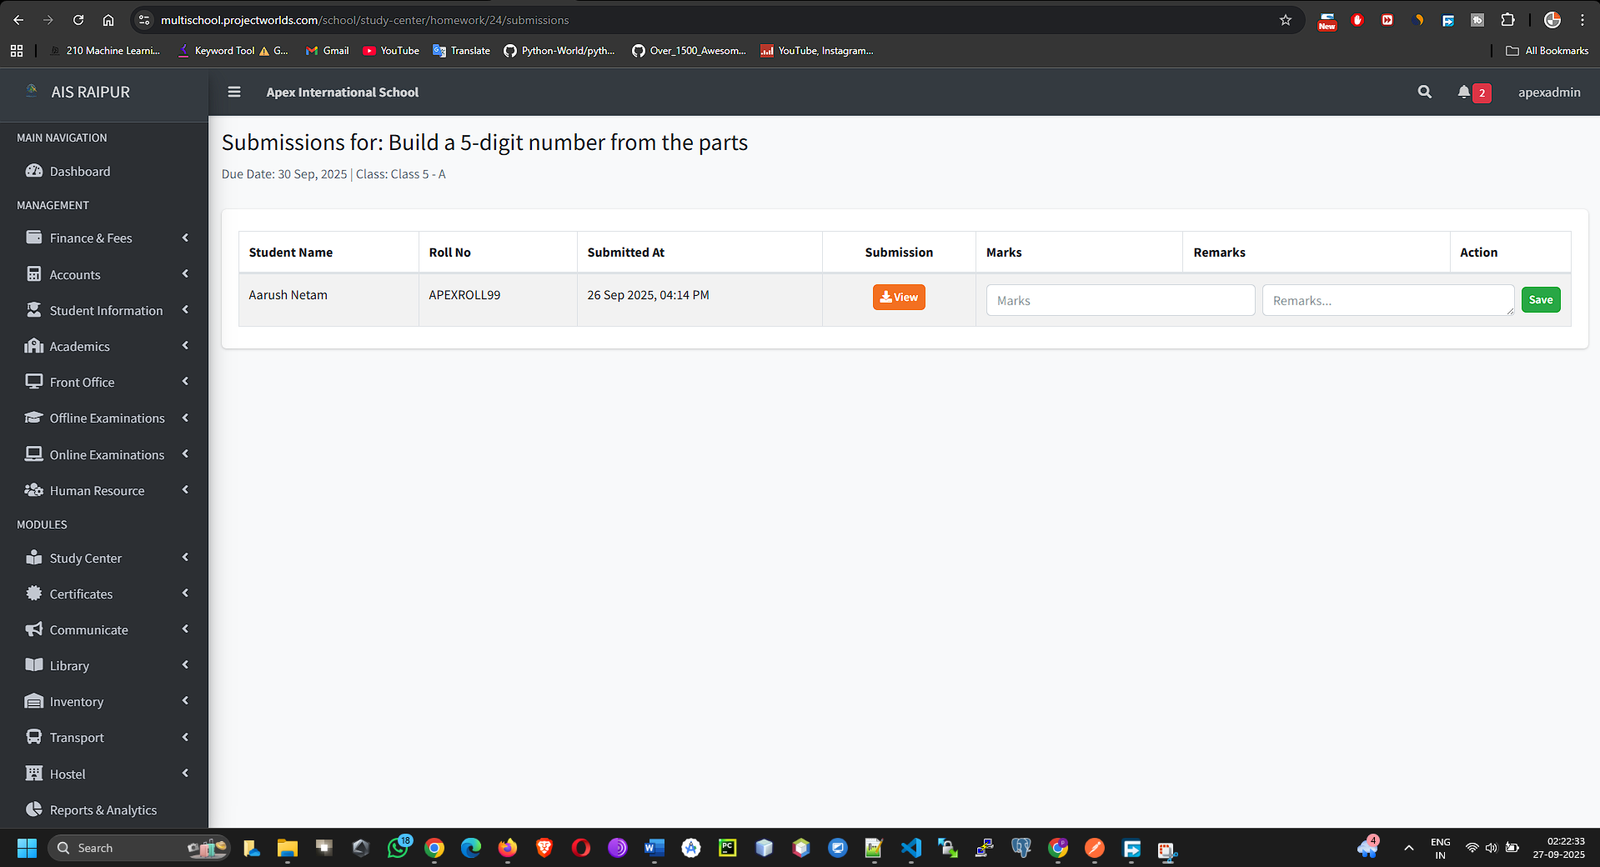
- Click Save. The student will receive a notification with their marks and your feedback.
7.4 Live Classes
This feature allows you to schedule and share links for live online classes using platforms like Zoom, Google Meet, or Microsoft Teams.
Navigation: MANAGEMENT > Study Center > Live Classes
- Click the + Add New Live Class button.
- Fill in the schedule details:
- Title: The title of the class session. Example: "Doubt Clearing Session - Physics", "Chapter 6 Live Lecture".
- Class, Section, Subject: Select the target audience.
- Teacher: Select the teacher conducting the class.
- Start Time: The exact date and time the live class will begin.
- Duration (Minutes): The length of the class.
- Meeting Link: This is the most important field. Paste the meeting URL from your conferencing tool (Zoom, Google Meet, etc.).
- Description (Optional): Any instructions for students, like topics to be covered.
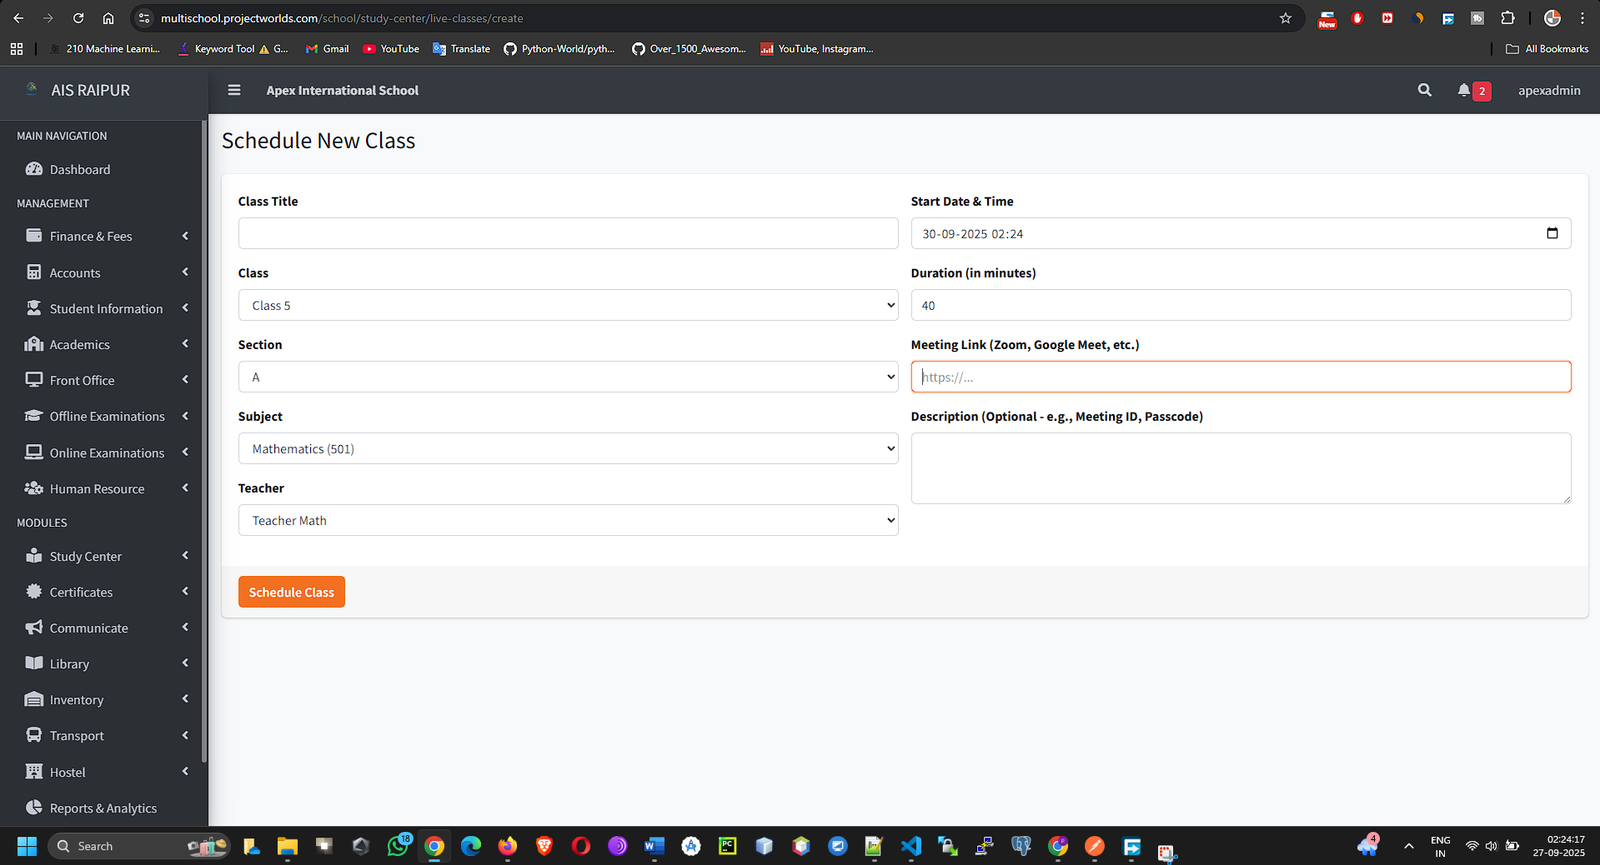
- Click Save.
- The scheduled class will now appear in the students' live class list in their app/portal. At the scheduled time, they can simply click the link to join the session.
- After the class is over, you can edit the entry and add a Recording Link if you recorded the session, allowing students who missed it to watch it later.