To manage the complete lifecycle of staff members, including their profiles, documents, attendance, leave requests, and payroll processing. This module is essential for organizing your school's workforce.
4.1 HR Setup: Departments & Designations
Before adding staff, you need to define the organizational structure.
Navigation: MANAGEMENT > Human Resource
Step A: Create Departments
Departments are broad functional areas within the school.
- From the Human Resource menu, select Departments.
- Click the + Add New Department button.
- Enter the Department Name. Examples: "Academics", "Administration", "Accounts", "Transport", "Library".
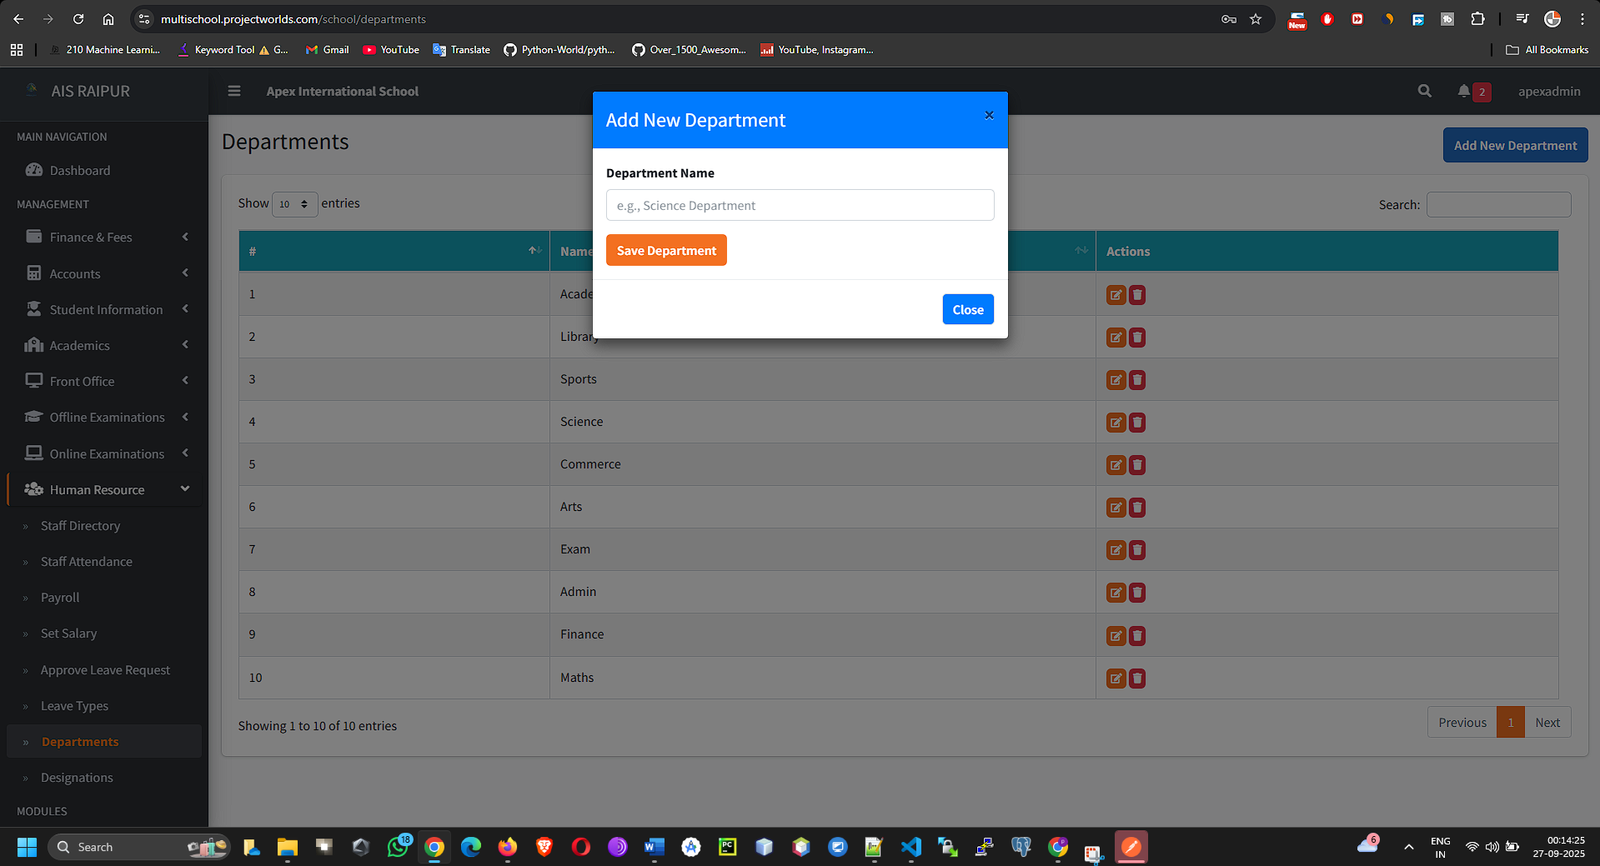
- Click Save. Add all departments relevant to your school.
Step B: Create Designations
Designations are the specific job titles or roles staff hold within a department.
- From the Human Resource menu, select Designations.
- Click the + Add New Designation button.
- Enter the Designation Name. Examples: "Principal", "Head Teacher", "Accountant", "Librarian", "Bus Driver", "Science Teacher".
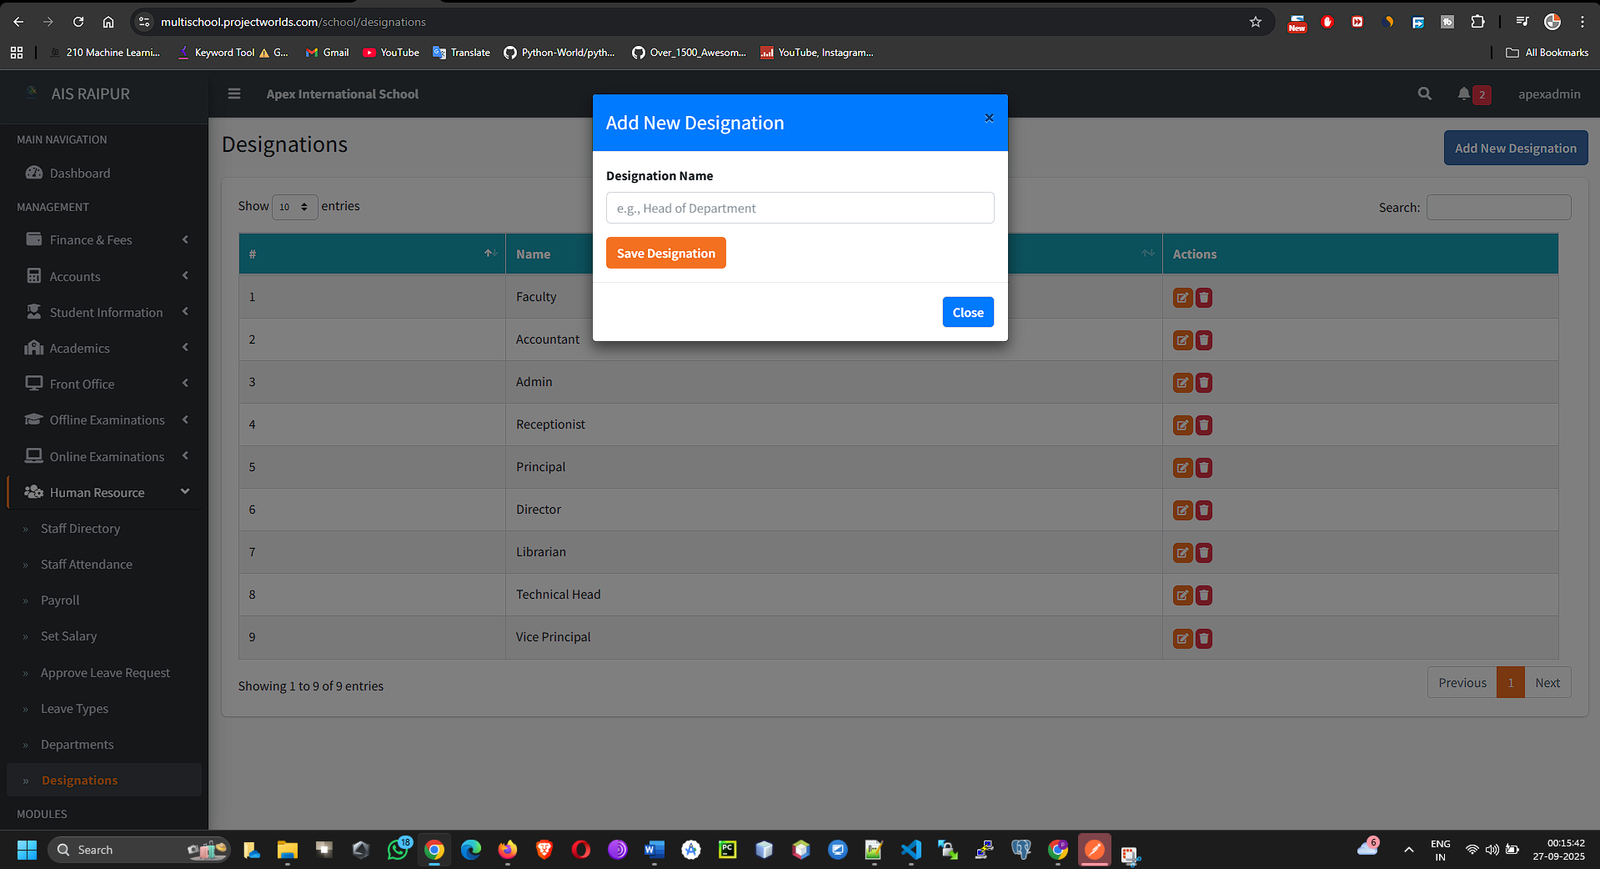
- Click Save.
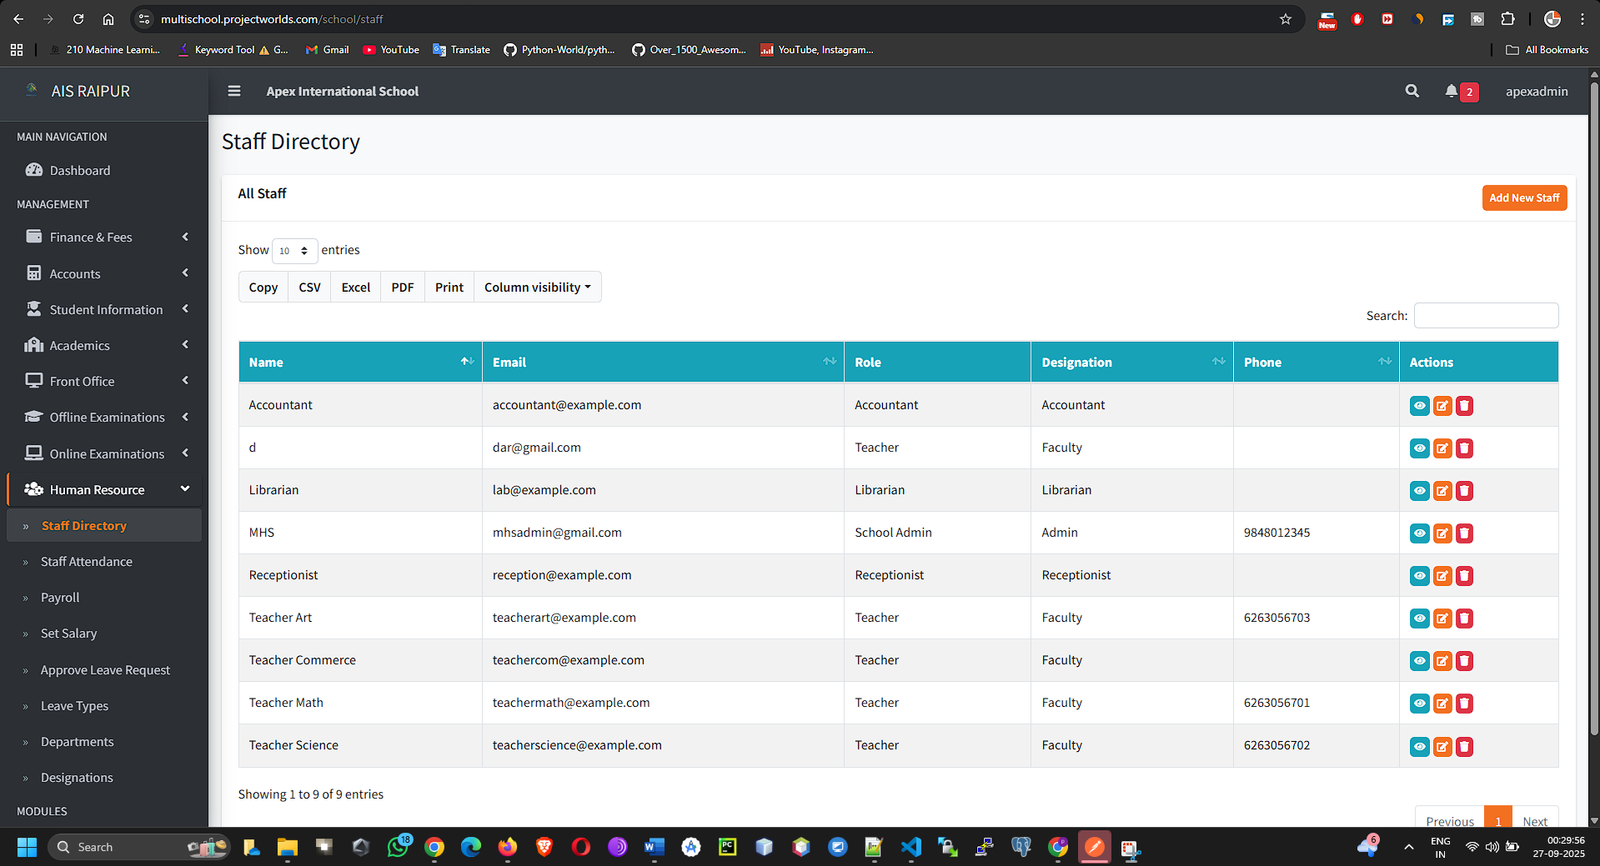
4.2 Managing Staff: The Staff Directory
This is the central hub for all staff information.
Navigation: MANAGEMENT > Human Resource > Staff Directory
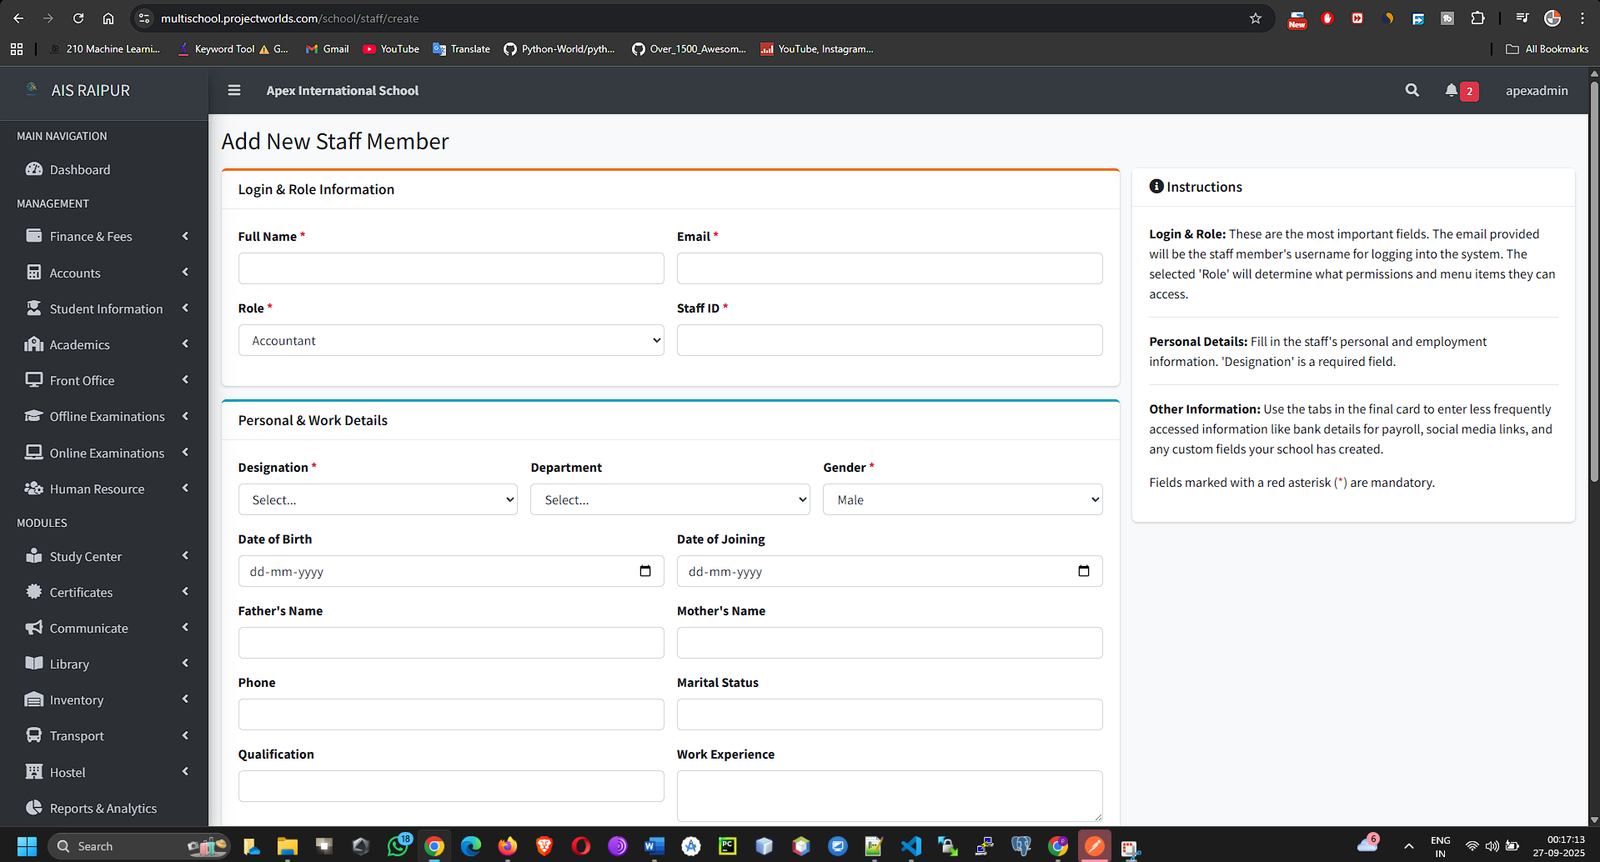
Adding a New Staff Member
- Click the + Add New Staff button.
- You will be taken to a detailed, multi-tab form. Fill it out completely.
Tab 1: Basic Information
- Staff ID Card: A unique ID for the staff member.
- Role: This is the most important field. The role you select (teacher, accountant, librarian, etc.) determines the staff member's permissions and what they can see and do when they log into the ERP.
- Designation & Department: Select from the lists you created in Step 4.1.
- Name, Email, Phone, Gender, DOB, etc.: Standard personal details.
- Email & Password: These will be the login credentials for the staff member.
Tab 2: Bank Account Details
- Enter the staff's bank information. This is crucial for the Payroll module.
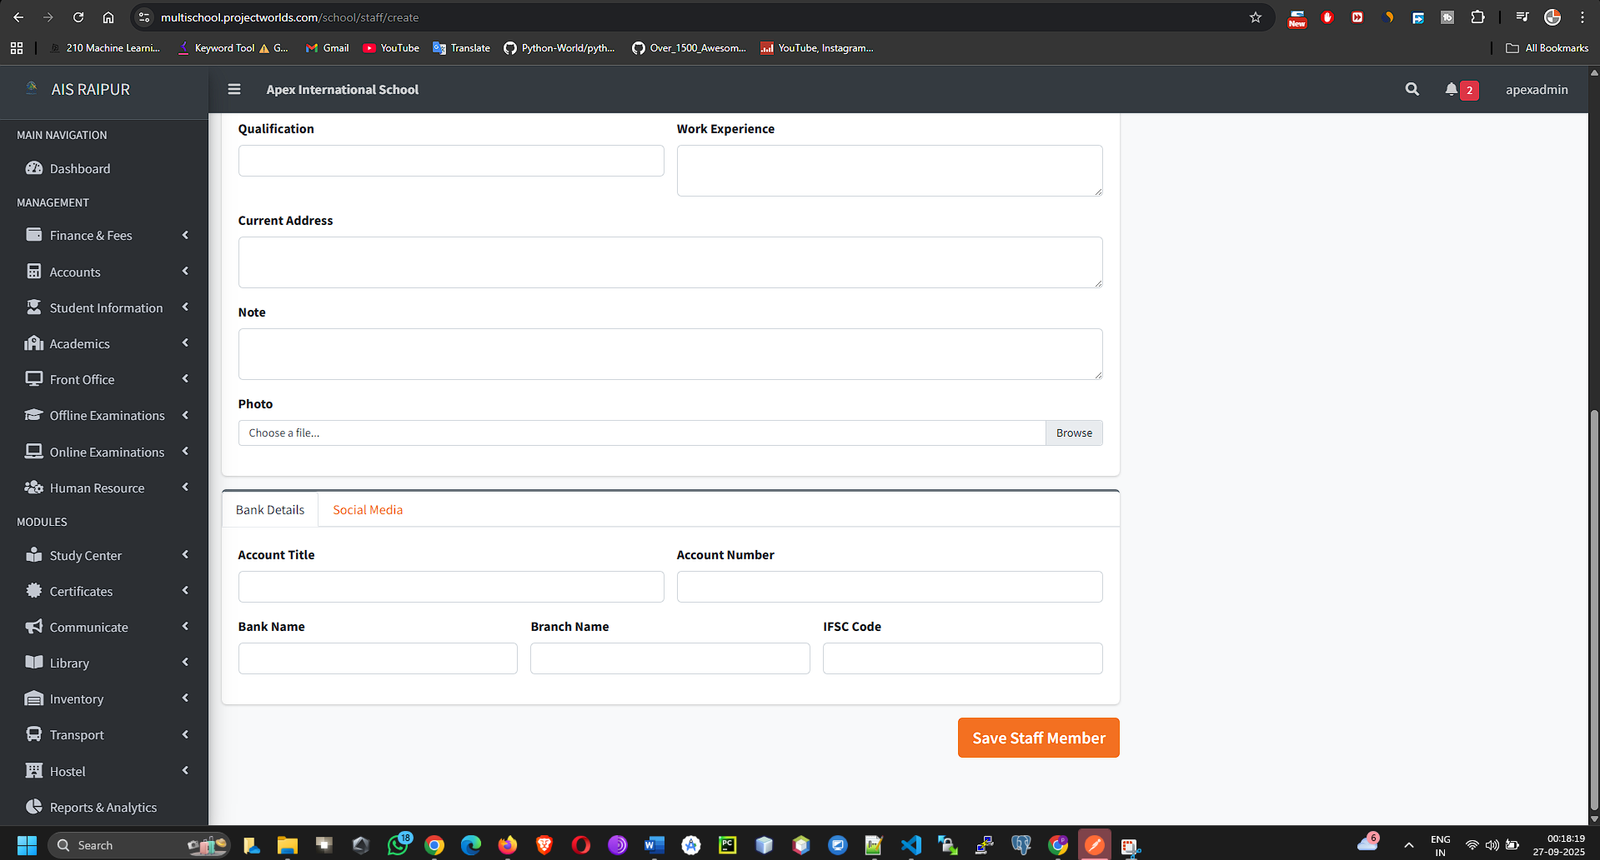
Tab 3: Social Media Links (Optional)
- Add links to their social profiles.
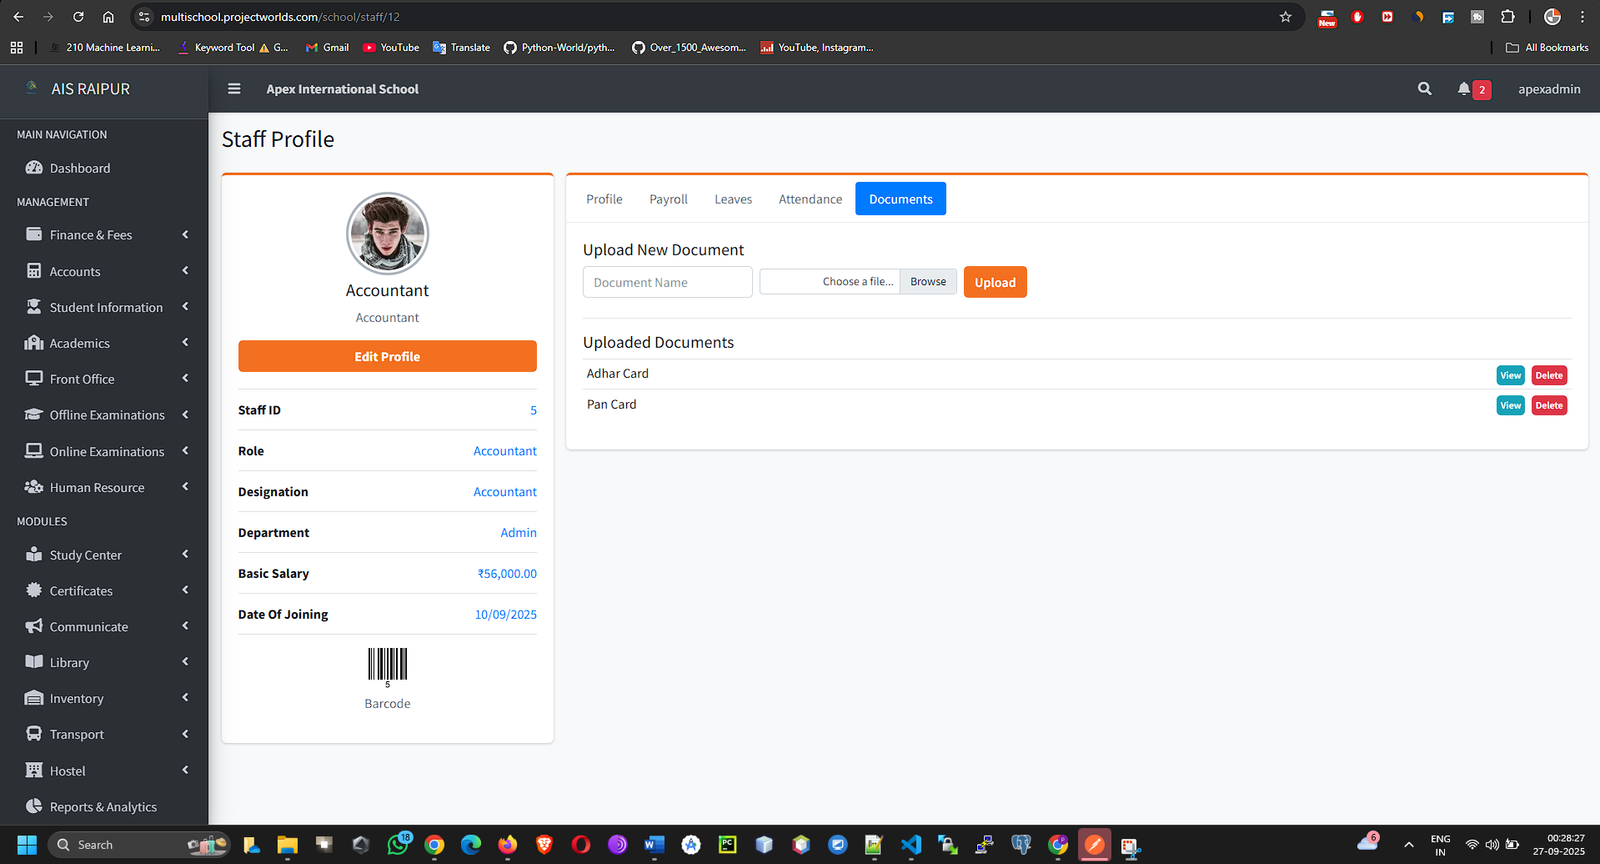
Tab 4: Documents
- Here you can upload important documents.
- Document Name: e.g., "Resume", "Degree Certificate", "ID Proof".
- File: Click to upload the scanned document.
- Click + Add More to upload multiple documents.
- After filling all tabs, click Save Staff. The staff member is now in the system and can log in with the credentials you set.
Viewing the Staff List & Profile
- The Staff Directory page shows a list of all active staff members.
- You can use the search bar to find staff by name or role.
- In the Action column, you can View Profile, Edit, or Delete a staff member.
- The Staff Profile page is similar to the student profile, containing all their information, documents, attendance, and payroll history in different tabs.
4.3 Staff Attendance
Track the daily attendance of your workforce.
Navigation: MANAGEMENT > Human Resource > Staff Attendance
- Select the Attendance Date and optionally filter by Role.
- Click Search.
- A list of all staff members will appear. By default, all are marked as Present.
- For any staff member who is not present, select the appropriate status: Absent, Late, or Half Day.
- Add any necessary remarks.
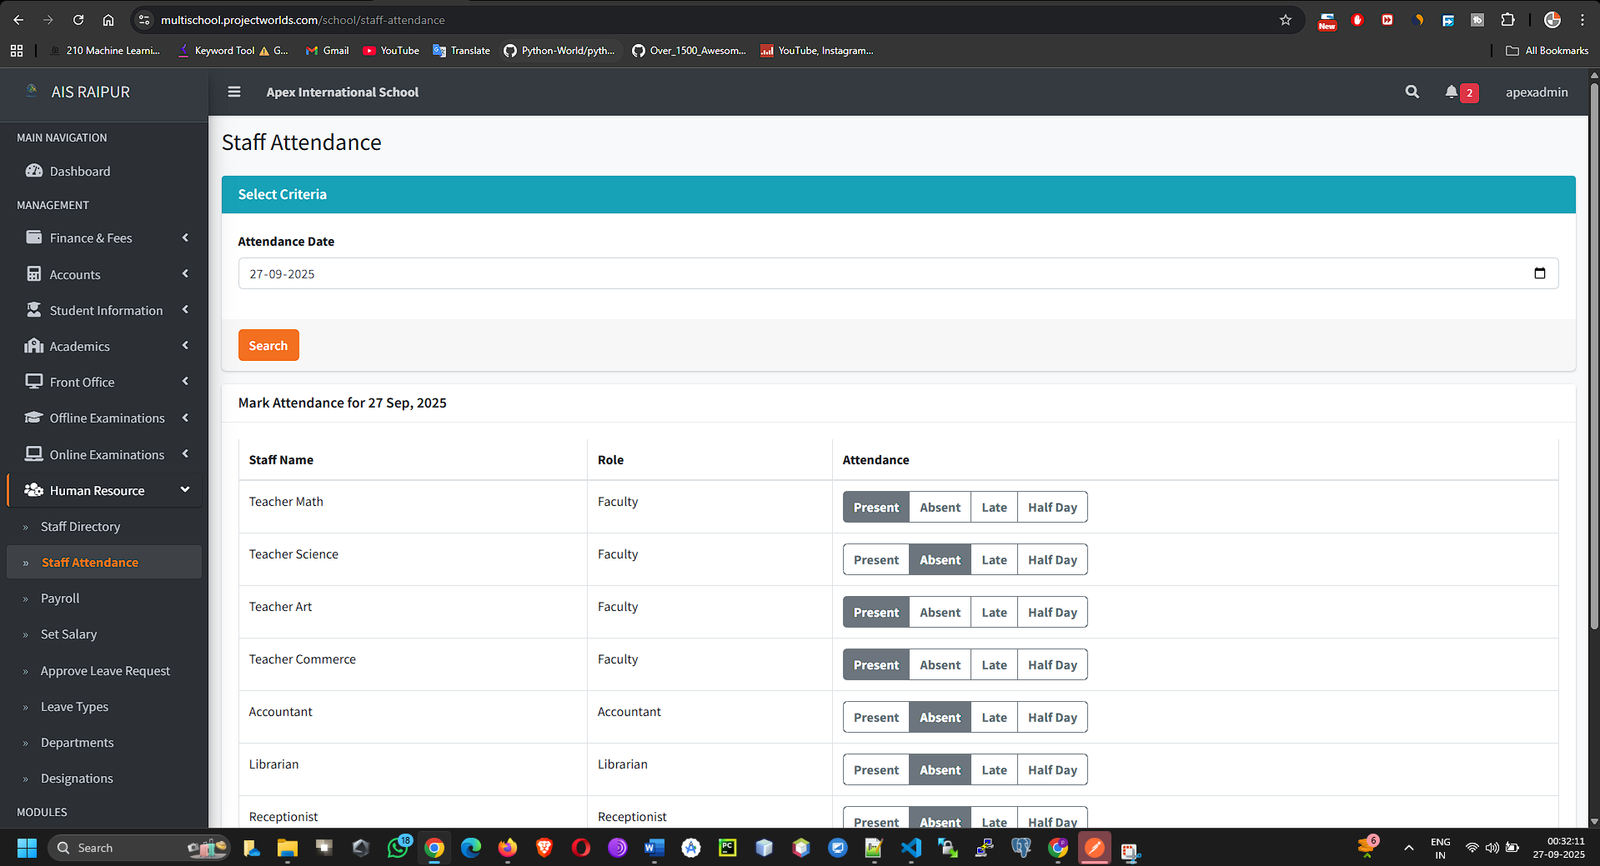
- Click Save Attendance. This data will be used directly in the payroll calculation.
4.4 Leave Management
Manage the entire leave application and approval process.
Navigation: MANAGEMENT > Human Resource > Leave Management
Step A: Create Leave Types
- From the Leave Management menu, select Leave Types.
- Click + Add New Leave Type.
- Enter the Leave Type Name (e.g., "Casual Leave", "Sick Leave", "Paid Leave").
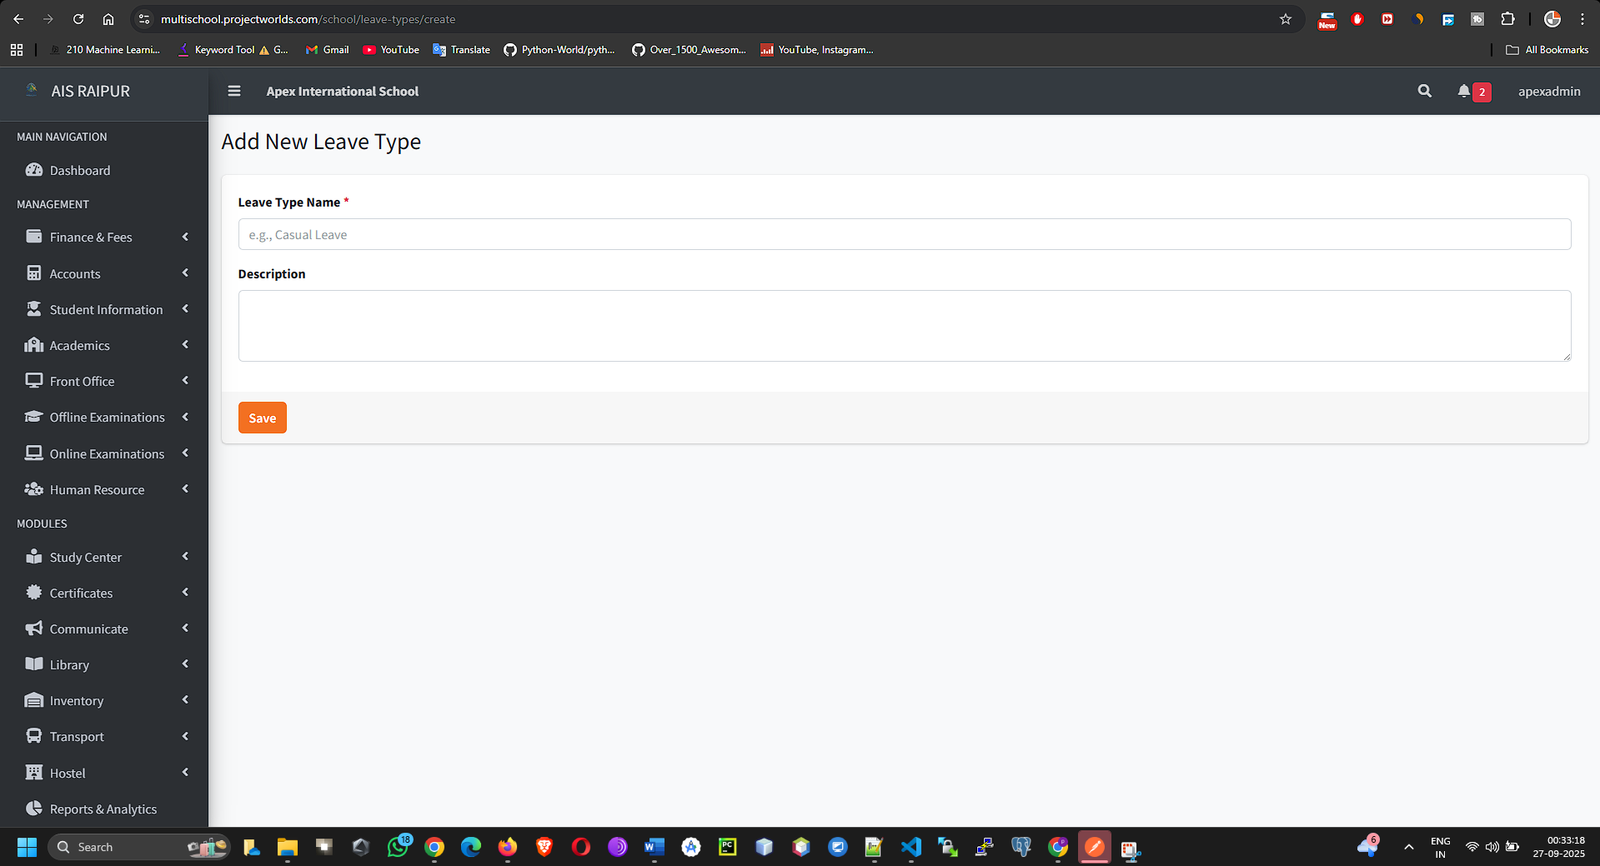
- Click Save.
Step B: Approving Leave Requests
When a staff member applies for leave through their own login or the staff mobile app, the request will appear here for admin approval.
- From the Leave Management menu, select Approve Leave Request.
- You will see a list of all Pending leave requests.
- For each request, you can see the staff member's name, leave type, dates, and reason.
- In the Action column, click the Edit (Pencil) icon.
- A modal will appear where you can change the status from Pending to Approved or Rejected.
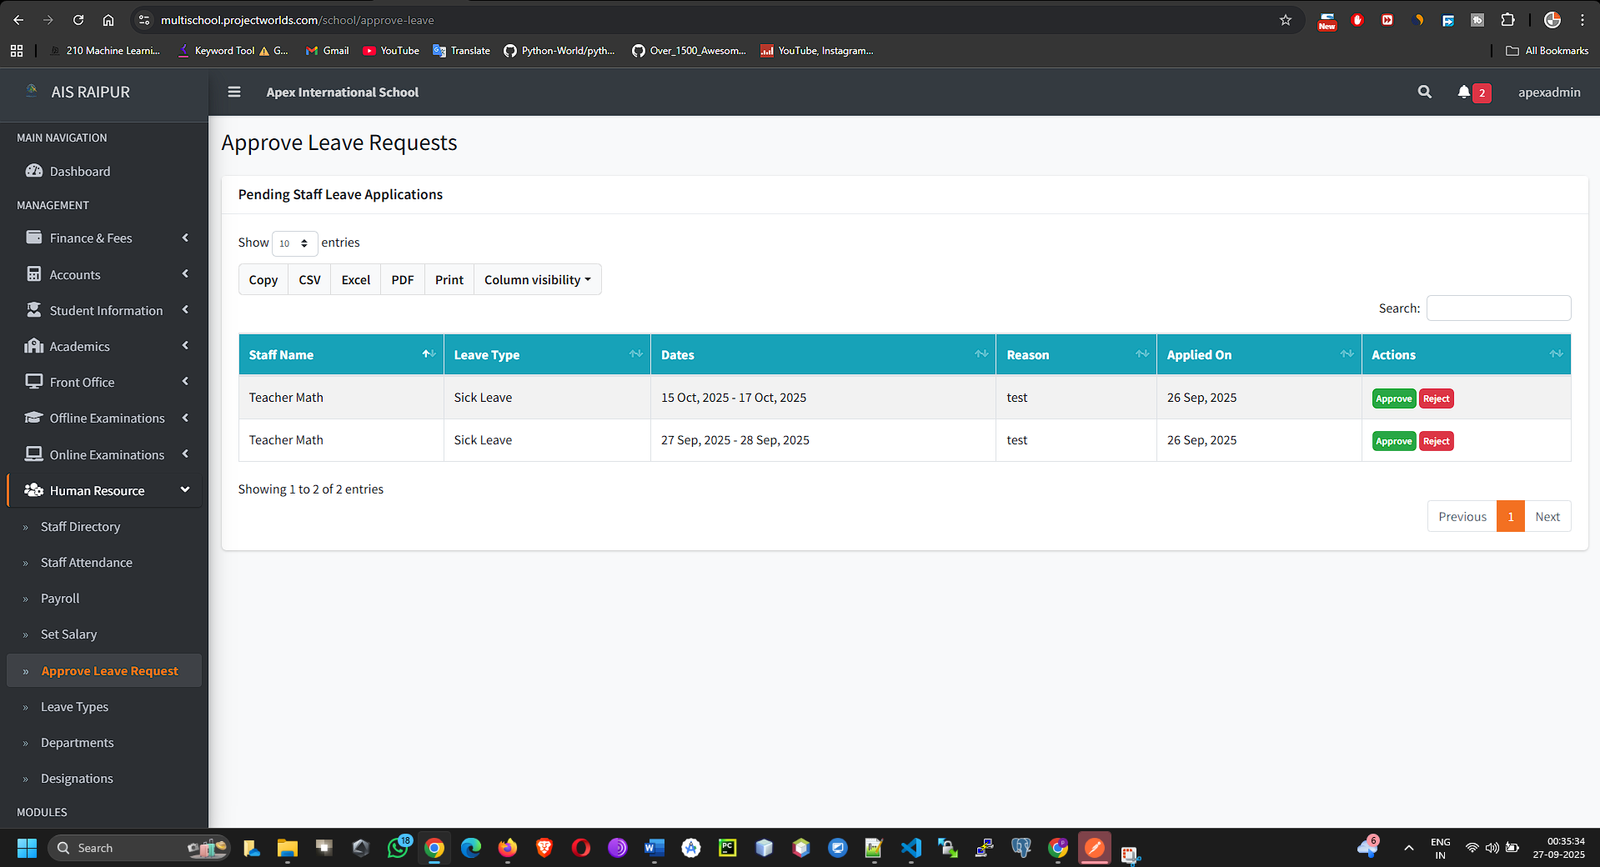
- Click Save. The staff member will be notified of the status change.
4.5 Payroll Management
This is the final and most powerful feature of the HR module, used for calculating and disbursing salaries.
Step A: Set Staff Salary
Before you can run payroll, you must define the salary structure for each employee.
Navigation: MANAGEMENT > Human Resource > Set Salary
- Select a staff member from the dropdown menu and click Search.
- The salary definition form will appear.
- Basic Salary: Enter the base salary amount.
- Earnings: Click + Add Earning to add components like HRA, DA, etc. Enter the name and amount for each.
- Deductions: Click + Add Deduction to add components like Provident Fund (PF), ESI, etc.
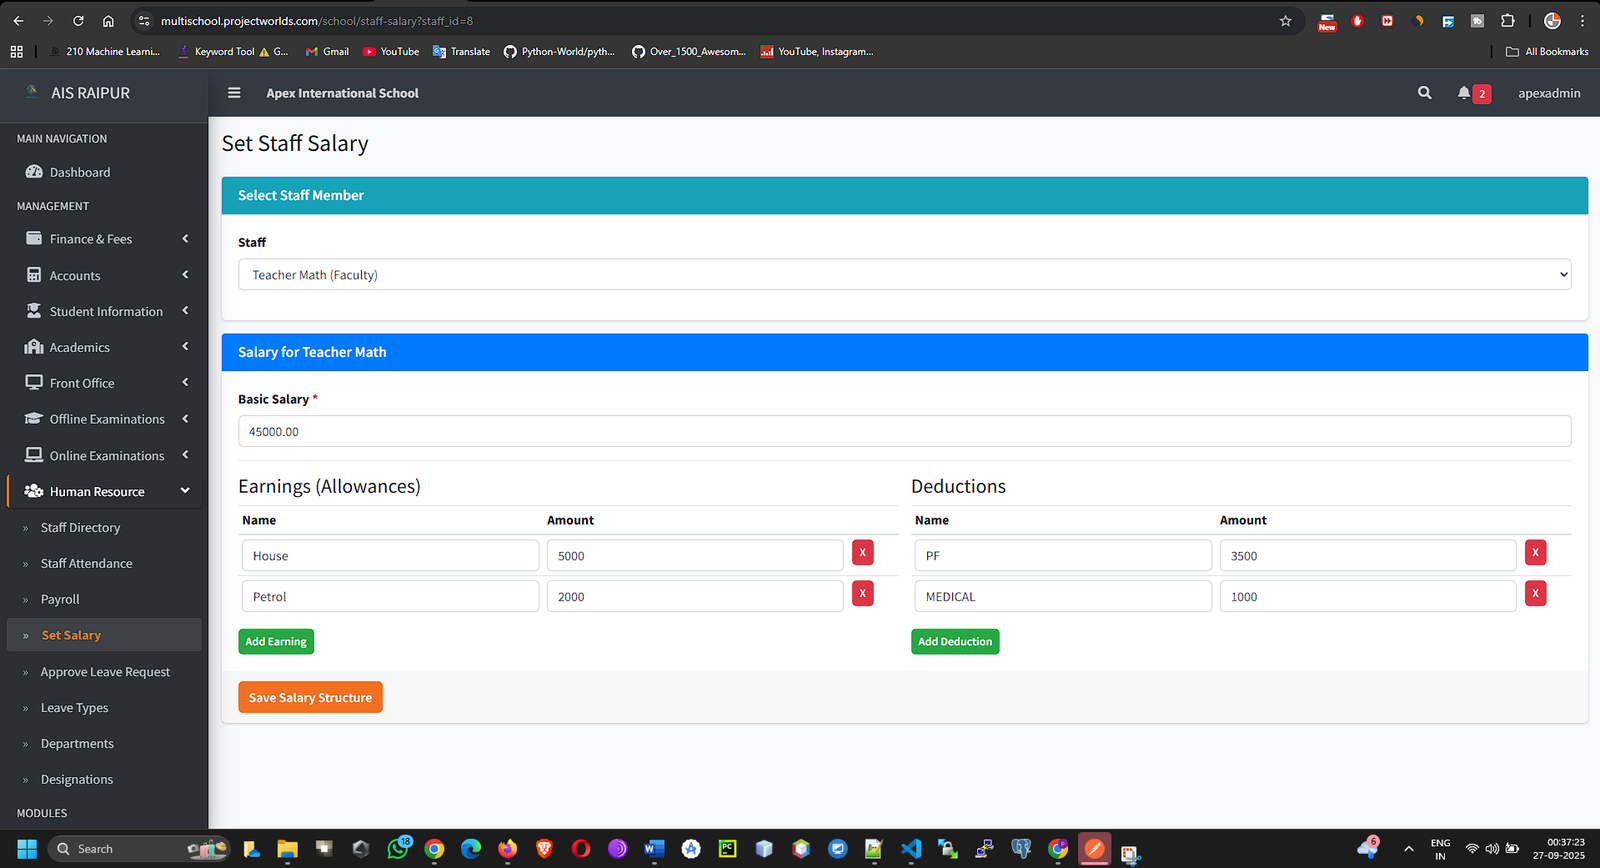
- Click Save. This salary structure is now saved for this employee and will be used every month for payroll calculation.
Step B: Generate and Process Payroll
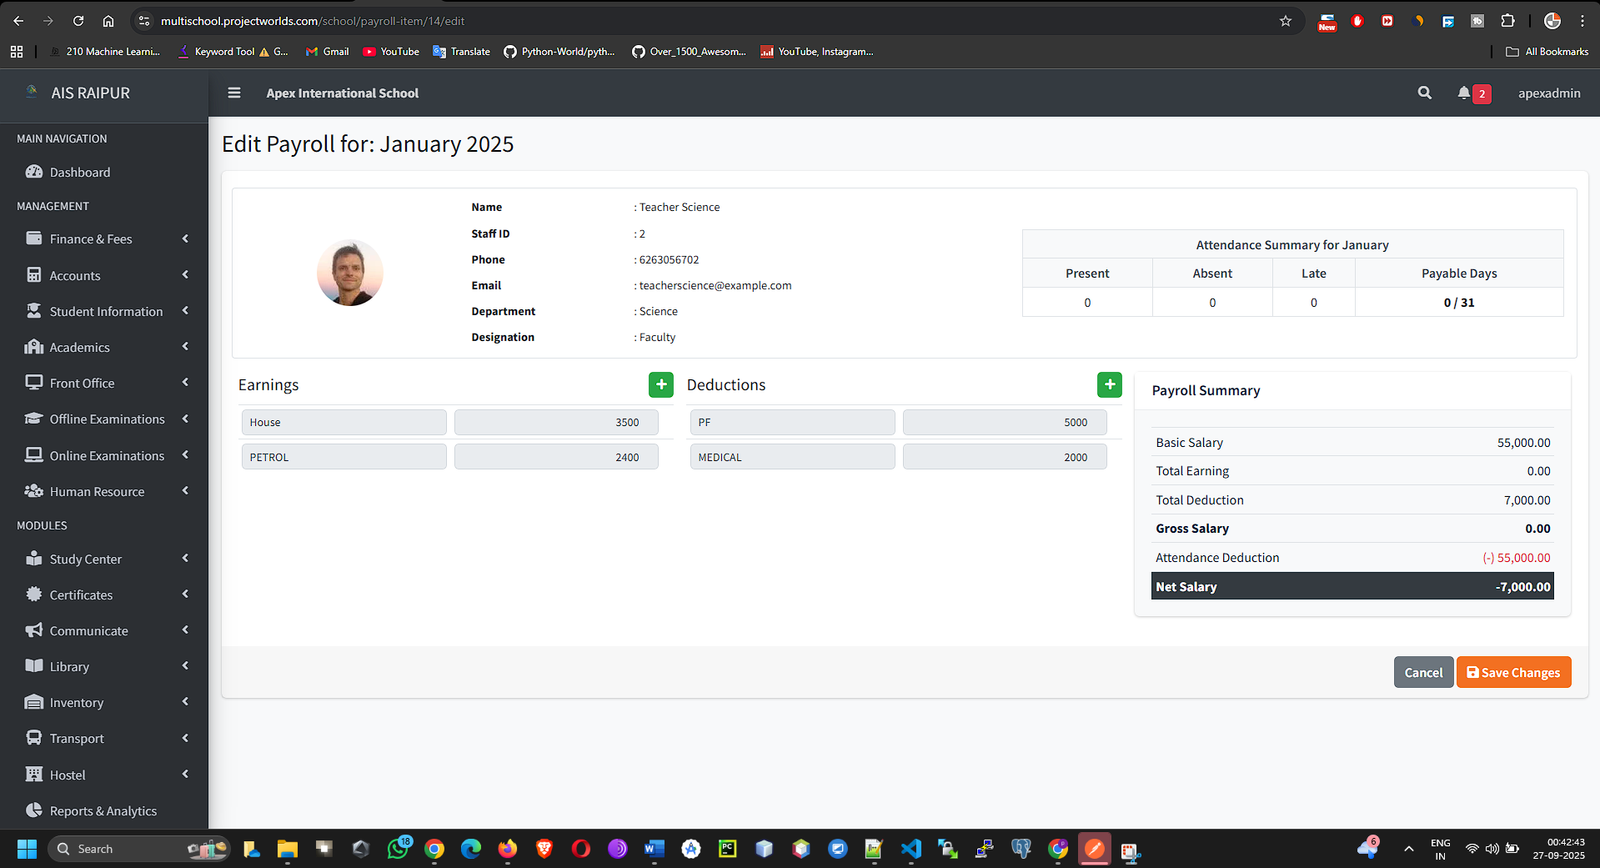
Navigation: MANAGEMENT > Human Resource > Payroll
- On the Payroll page, select the Month and Year for which you want to process salaries.
- Click the Generate button.
- The system will perform a complex calculation in the background:
- It fetches the salary structure for every staff member.
- It checks the staff attendance for the selected month.
- It calculates pro-rata salary deductions for any days marked as absent.
- It generates a payslip for every employee.
- After generation, the payroll batch will appear in the list. Click the View button to see the details.
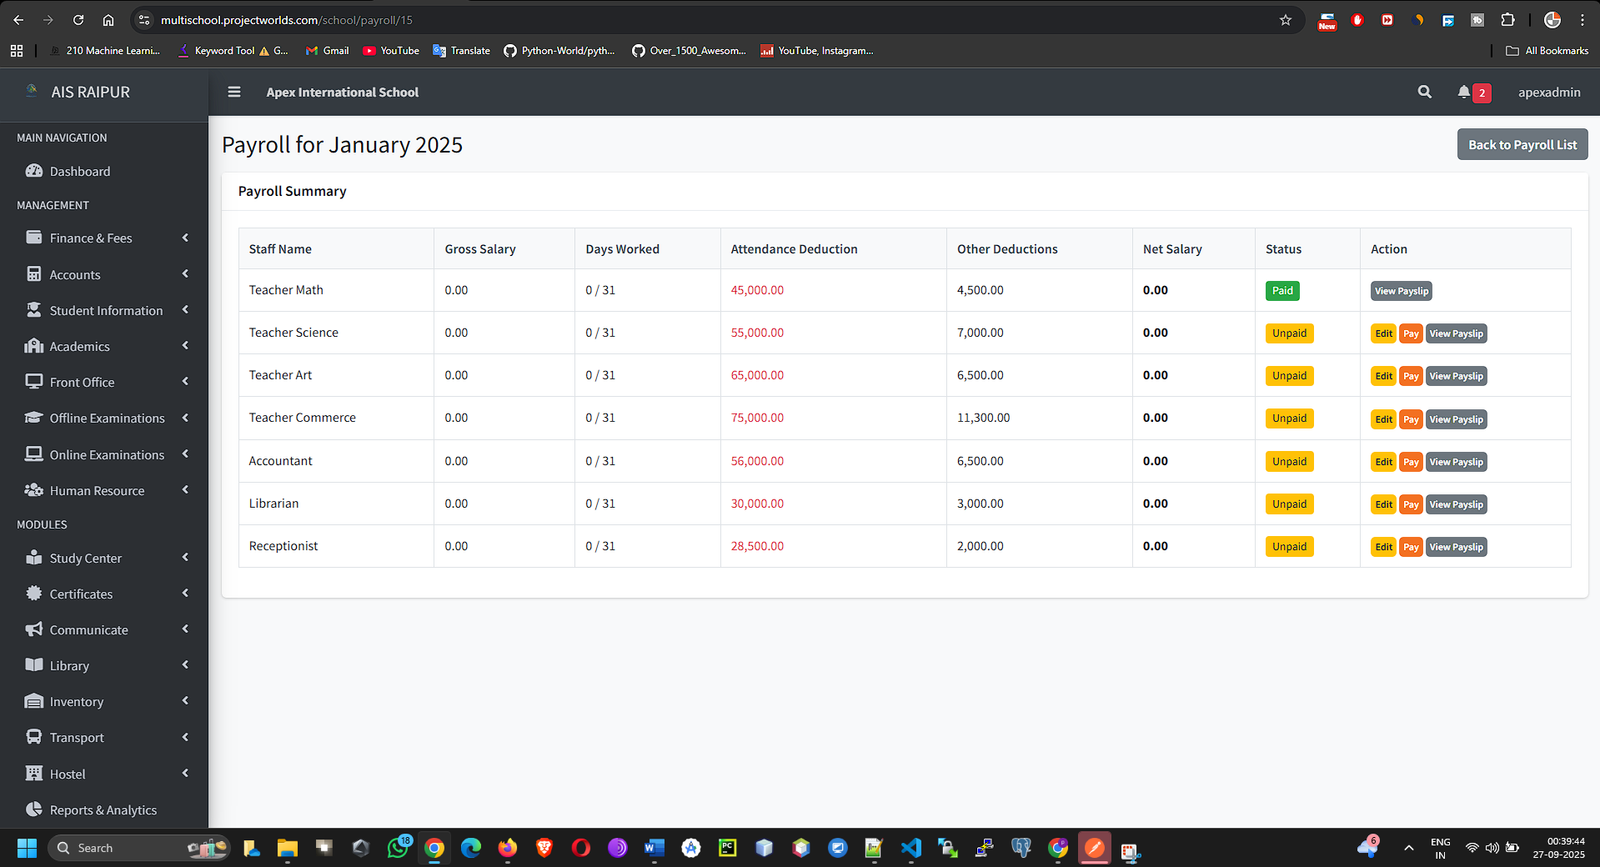
- On the payroll summary page, you will see a list of all staff, their total earnings, deductions, and the final Net Salary.
- From here you can:
- View Payslip: Click to see a detailed, printable payslip for an individual.
- Mark as Paid: Once you have disbursed the salary (e.g., via bank transfer), click this button to change the status from Unpaid to Paid.